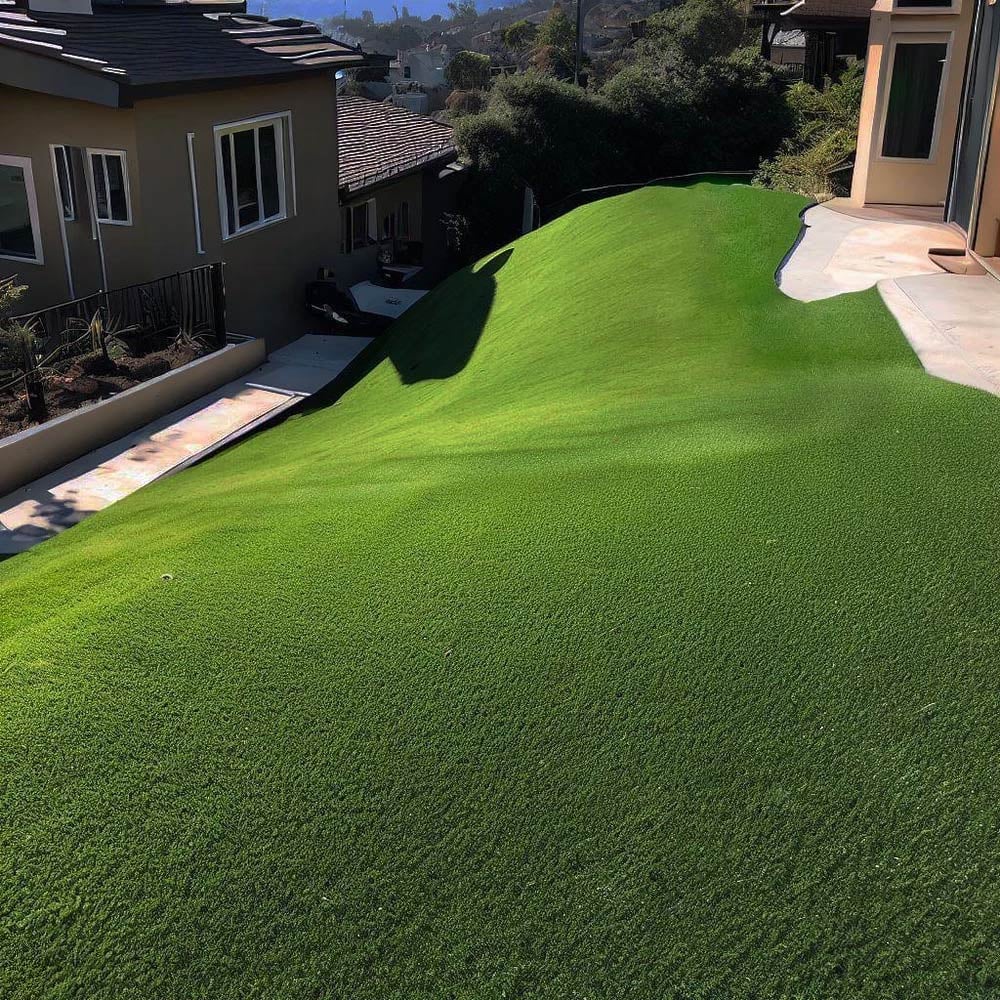
Installing turf on a flat surface is relatively straightforward. However, the process becomes much more complicated when you’re trying to lay turf on soil on a slope. The turf won’t stay in place if it’s too steep. Fortunately, there are several steps you can take to make it easier to install artificial turf on your chosen slope, whether slight or steep.

Can you lay artificial turf on uneven ground?
You can lay artificial turf on a graded surface as long as it is smooth. However, you should not lay turf on uneven ground with dips, holes, and bumps. Trying to install turf on these surfaces can lead to a variety of problems, including:
- Lifting
- Slumps
- Wrinkles
- Tears in turf fibers or backing
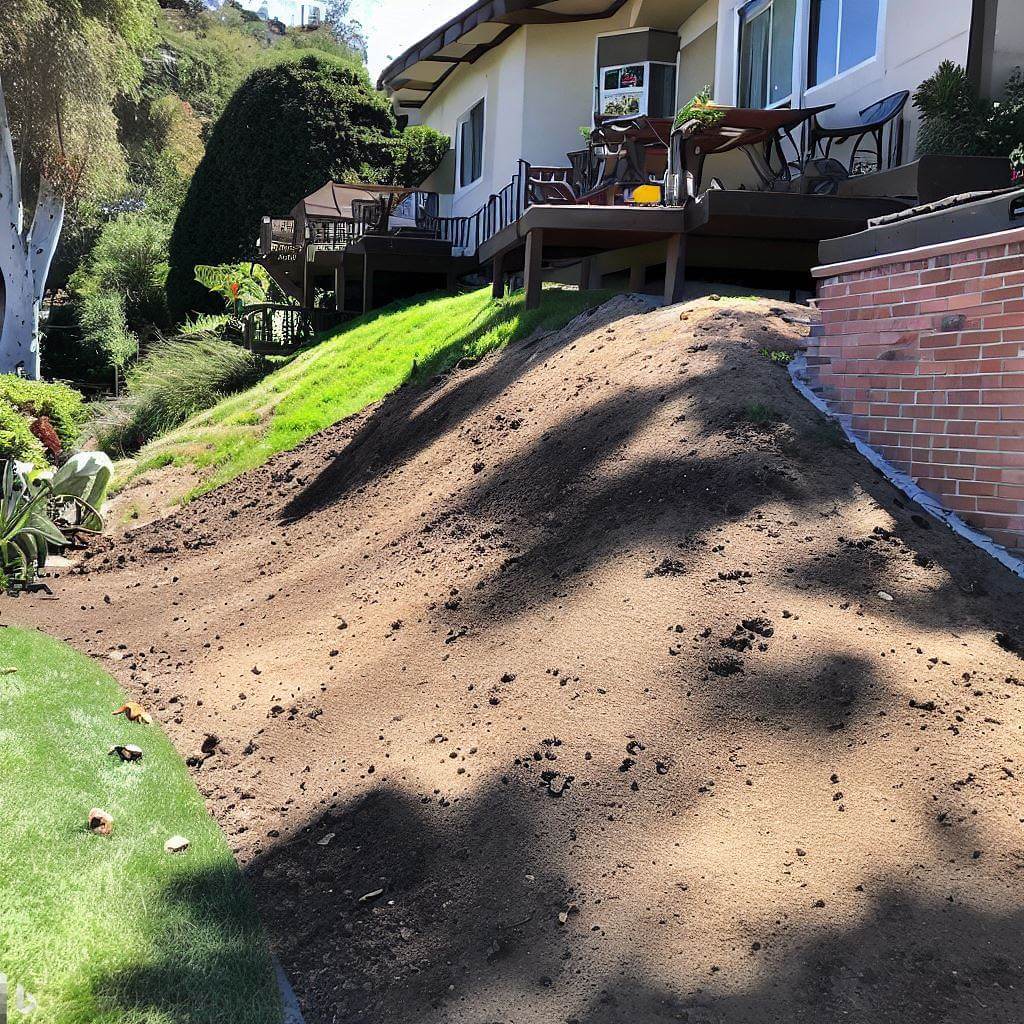
That’s why one of the first steps to installing artificial grass on a hillside is clearing away any debris and removing three to four inches of topsoil from the area.
However, before you can start the installation process, you will need the right tools and materials for the job.
Step 1: Gather Tools and Materials
Gathering these critical materials early can make it easier for you to ensure that the job gets done smoothly and effectively. You will need:
- Wheelbarrow
- Sod cutter or turf cutter
- Dump trailer
- Carpet kicker
- Power broom or push broom
- Vibrating plate compactor
- 40-D 5-inch nails
- Turf glue
- Putty knives
- Seam tape
- Drop spreader
You will also need to ensure that you have all the necessary materials for your turf installation. Materials needed include:
- Artificial grass
- Class II road base
- Weed barrier fabric (optional)
- Infill
- Timber or Plastic Edging (for steep slopes)
Step 2: Grade the Slope
As mentioned earlier, the first step is to remove the top 3 to 4 inches of topsoil. You can use the sod or turf cutter to pull up those inches of soil and ensure that everything is smooth and ready for the installation. Deposit the earth in the dump trailer to ensure it is out of the way.
Step 3: Install Timber Edging
If the slope is steep, you must install a timber framework to keep the artificial turf from slipping. If the slope is very slight, you can skip this step.
For steep slopes, put 2 x 4 edging along the top of the bank. Ideally, you should concrete them to ensure they stay firmly in place. Depending on the shape of the slope, you may need to have edging around the entire perimeter to ensure that your turf remains secure and has no risk of slipping.
If you prefer not to use pressure-treated timber, in some cases, you can use composite plastic edging pieces to edge the area where you intend to put your artificial turf.
Step 4: Create a Base Layer and Compact
Spread three inches of Class II road base over the area. Lightly wet the site, then go over it with a vibrating plate compactor. This helps create your initial, or base layer. Your base layer keeps your artificial turf stable long-term.
Step 5: Consider Weed Barrier Fabric
Weed barrier fabric can help prevent weeds from springing up in your artificial turf, ensuring that it looks its best for a long time. However, weed barrier fabric is not recommended if you have pets since the weed barrier can trap odors.
Carefully consider how you’re planning to use this area and whether pets will be visiting it regularly.
Step 6: Lay the Artificial Grass
Unroll your artificial turf and let it sit in the sun for 30-60 minutes to remove all the creases. This step will ensure a smooth look across the site.
Next, nail the turf to the timber framework at the top of the bank. Ensure that the turf blades and stitch patterns face the same way.
You want to maneuver your turf into a smooth area with few bumps or bends. Use a carpet kicker to help stretch and maneuver that turf into place and ensure it looks its best, just like the natural grass you might otherwise have in that space.
Step 7: Join Turf Pieces
You’ll need to join your turf pieces at the seams to ensure they do not pull apart over time. Seam tape and turf glue can ensure that your turf remains fixed in place and fixed together.
You’ll want to place your seam tape underneath the center of your seam and add nails every few inches to secure it to your base. Then make an “S” pattern with the glue over the seam tape.
Spread the glue to ensure it’s evenly distributed. Then, move the turf into place.
Step 8: Add Infill Material
Infill material can serve several essential functions. It helps weigh down the turf, provides a better surface to stand on, and even decreases wear and tear on your turf over time. Using the correct infill can significantly impact your lawn's appearance, performance, and lifespan. Use a drop spreader to disperse your infill material over the yard evenly.
If you install your artificial turf on a steep slope, there will be more infill migration than for flat surfaces. You will need to replace your infill more often than once every 18 months (the standard for flat surfaces) to help maintain the lifespan and appearance of your lawn.

Step 9: Power Brush the Slope
Use a power or push broom to brush the turf. This helps the artificial turf blades stand up straight and gives the appearance of freshly-mowed grass. Rinse off the remaining dust.
Because the slope of your property will lead to more infill migration, you may need to brush artificial grass more often than you would if it were on a flat surface. This also means that the maintenance requirements apply even more stringently.
How to Install Artificial Grass on Concrete on a Slope
The biggest difference to installing artificial grass on concrete is that, instead of using a Class II road base for drainage, you will need to start by gluing shock pads to the concrete. If there are cracks in the concrete, you may need to apply self-leveling compound first to create a level surface for your turf application.
Because there is already a slope, you won’t need to worry about drilling drainage holes in the concrete as you would if you were installing artificial grass on flat concrete.
Professional Installation vs. DIY Installation
It is possible to install artificial turf on a slope on your own. However, it is extremely easy to install turf on a slope improperly. The result will be an uneven surface that does not fit your needs or your plans for the area.
Within a few years, seams will start showing, and you may have to tear up the turf and start over. A professional installation will avoid these problems and ensure that your turf looks its best--and has the longest possible lifespan.
Of course, figuring out which artificial turf installer to use can be challenging. To better understand how to choose the right synthetic turf installer for your needs, check out our eBook, “An Expert’s Guide to Comparing Artificial Grass Installers."